
Gifts + Registries
DIY Wedding Welcome Bags on a Budget: How to Wow Out-of-Town Guests Without Overspending
Wow your out-of-town guests with DIY wedding welcome bags that look custom for closer to $10 a piece. Budget tiers,…
📋 Get the Wedding Quick Start Guide!
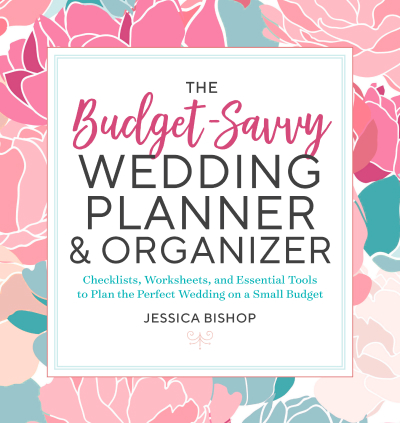
Get a copy of our best-selling book, The Budget-Savvy Wedding Planner & Organizer! It’s a savvy steal at under $12!
“I LOVED this book! this is the definition of a perfect wedding planner! Jessica goes into so much detail… She covers everything plus some and then plus some more!”

The Bouquet Toss Podcast is a top-rated wedding planning podcast that’s created to help you plan your day, your way! Produced in partnership with Love Stories TV, you can now get episodes on Apple, Spotify, YouTube, or wherever you get your podcasts!
Plan your day, your way. Check out our savvy resources to get started planning your big day the savvy way!
The latest savvy articles from The Budget Savvy Bride to help you save money and plan a wedding that feels authentic to you!
Wow your out-of-town guests with DIY wedding welcome bags that look custom for closer to $10 a piece. Budget tiers,…

Wedding planning burnout is real. Here’s how to ease the pressure, protect your budget, and remember why you wanted to…

Real wedding budgets rarely match the glossy photos. Here’s why wedding media features often hide the full story, and how…

Struggling to keep your relationship balanced during wedding planning? Learn why strong couples use systems, not guesswork, and how to…

Estate planning belongs on every wedding checklist. New research shows most couples wait years too long. Here’s how to get…

Most wedding budget spreadsheets use generic averages. The Savvy Wedding Budget Blueprint plans around what actually matters to you.
View our real wedding features and wedding budget breakdowns from real couples!


Check out the latest offers in our Wedding Deals to save you money on your wedding!
Check out our free wedding invitation templates that you can customize yourself with Canva!
Get inspired by real weddings on a budget, score wedding freebies, and browse our recommended resources.


